Tuesday, July 14, 2009

Mini Bunting Tutorial

Sorry that we haven't blogged in a while. My mom was diagnosed with Complete Placenta Previa the other day. So she has to lay low until it moves. So I am blogging for now.


Photobucket


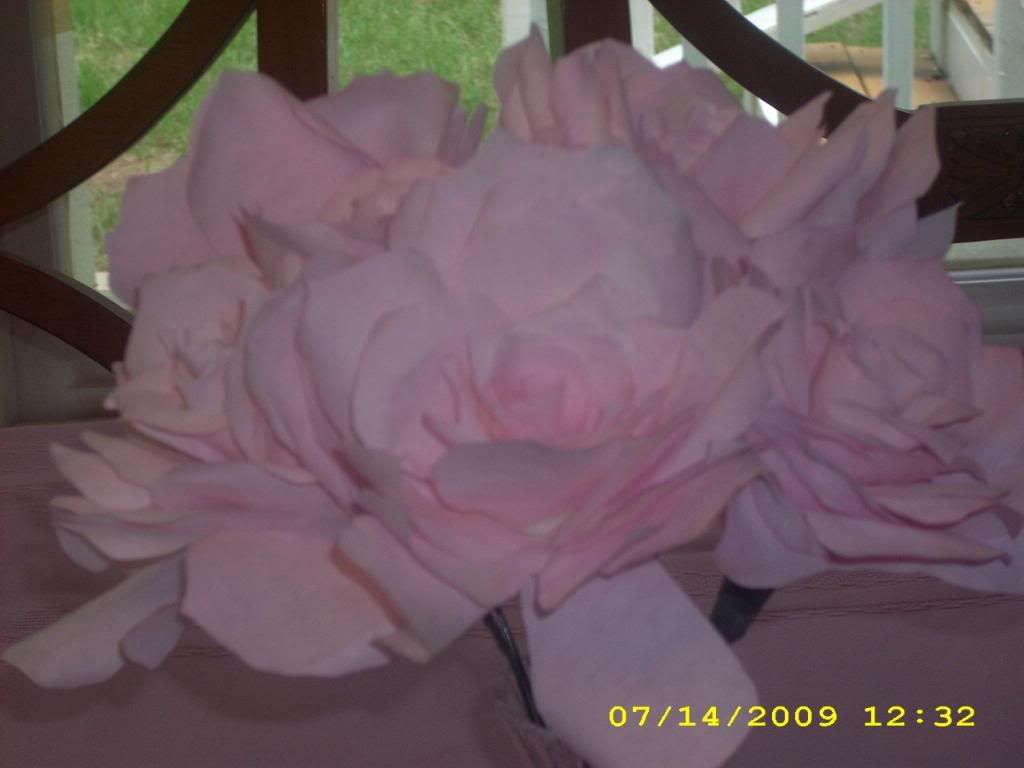
Don't these look real? These are actually made out of coffee filters. We got the tutorial off Martha Stewart here. We have been making buntings, Paper Letters, and coffee filter roses over the week and weekend.

Photobucket


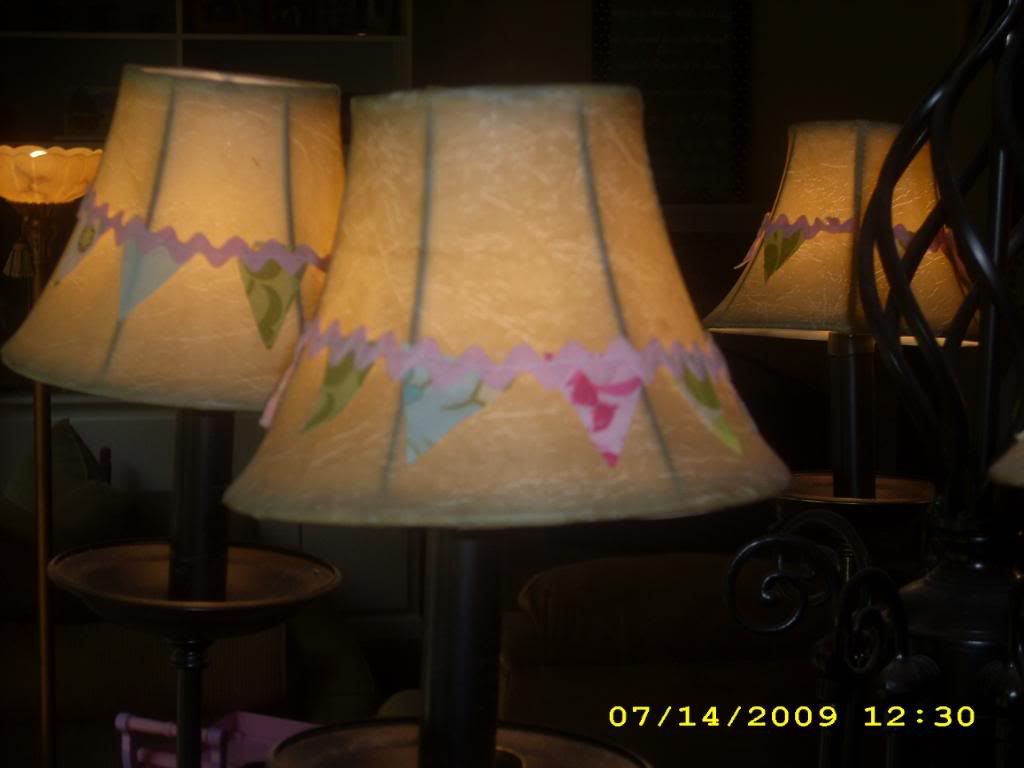
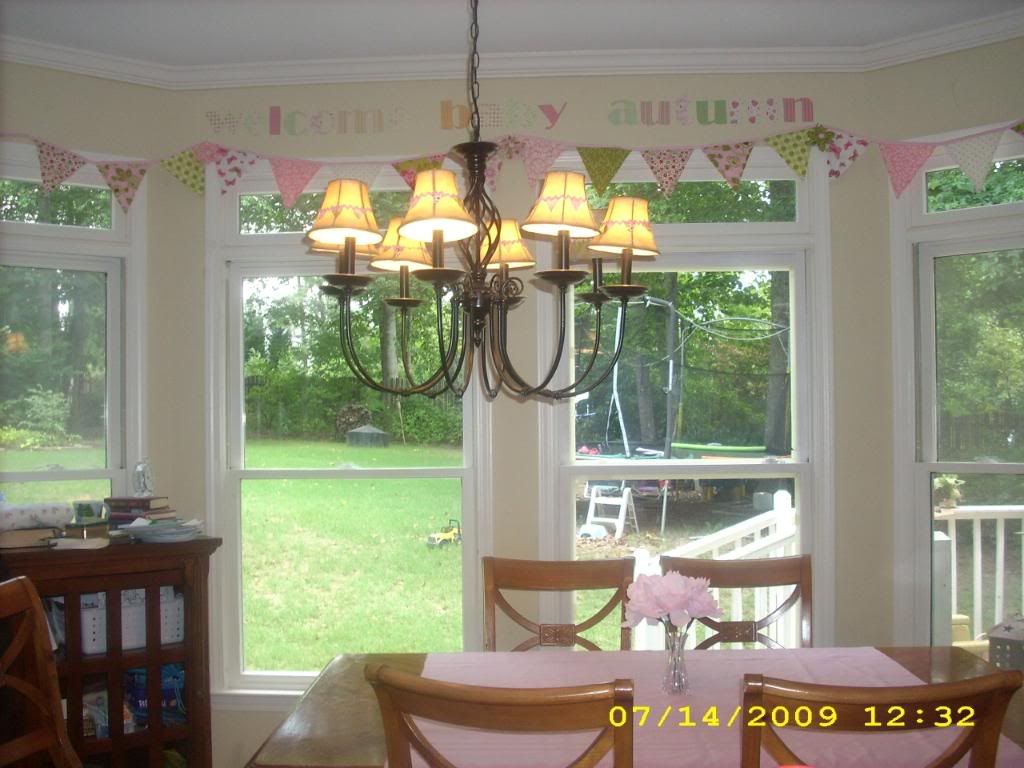
I have been making mini buntings for the lampshades (you can't see them that well in the big picture). I decided to post a tutorial on them


Mini Buntings
Photobucket
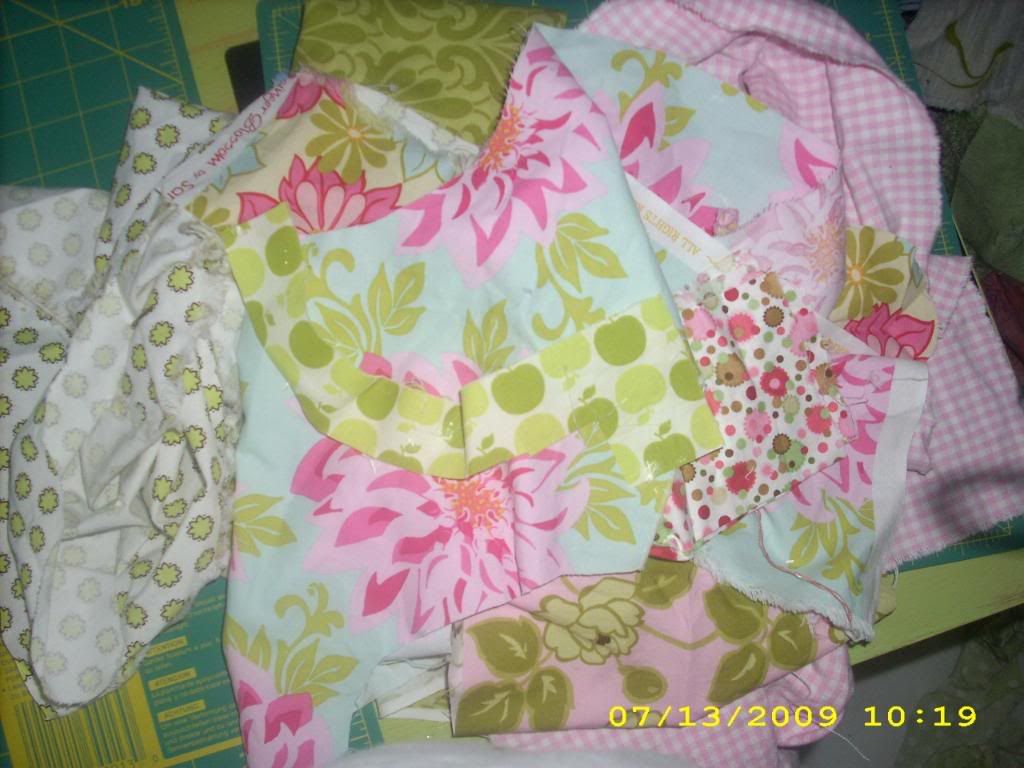
8 scraps of fabric
Ric-rac or ribbon
Thread or glue
1. First pick out your 8 scraps of fabric.


Photobucket

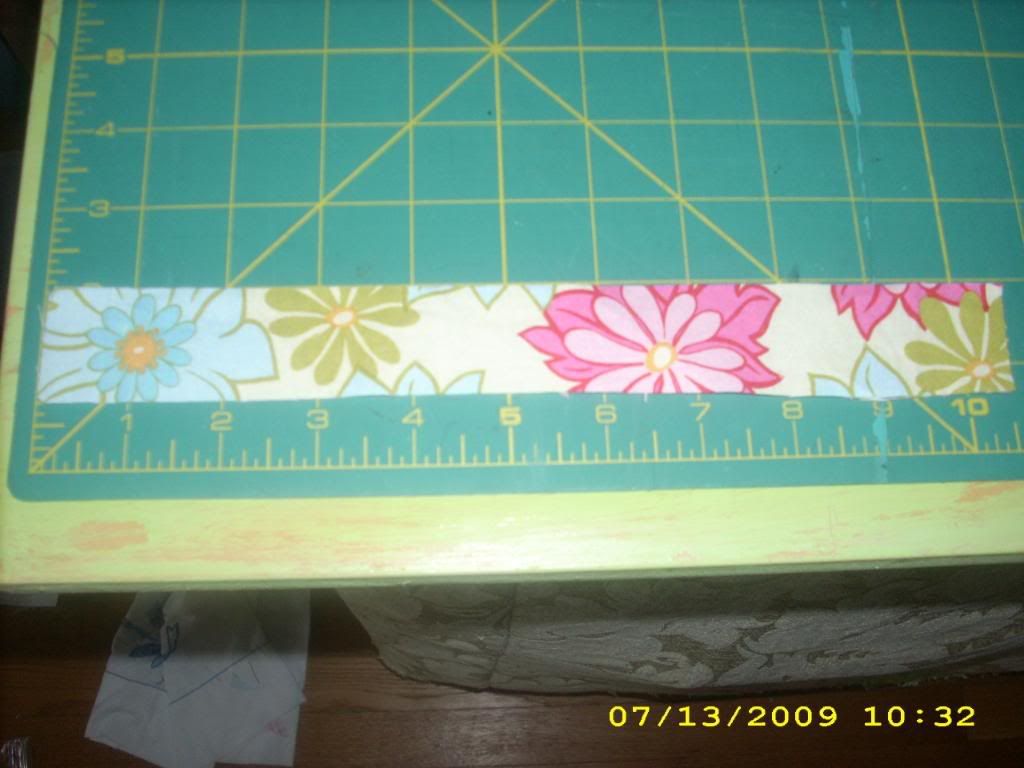
2. Choose a random one, and cut one 10 1/2 x 1 1/4 inch strip out of it.

Photobucket

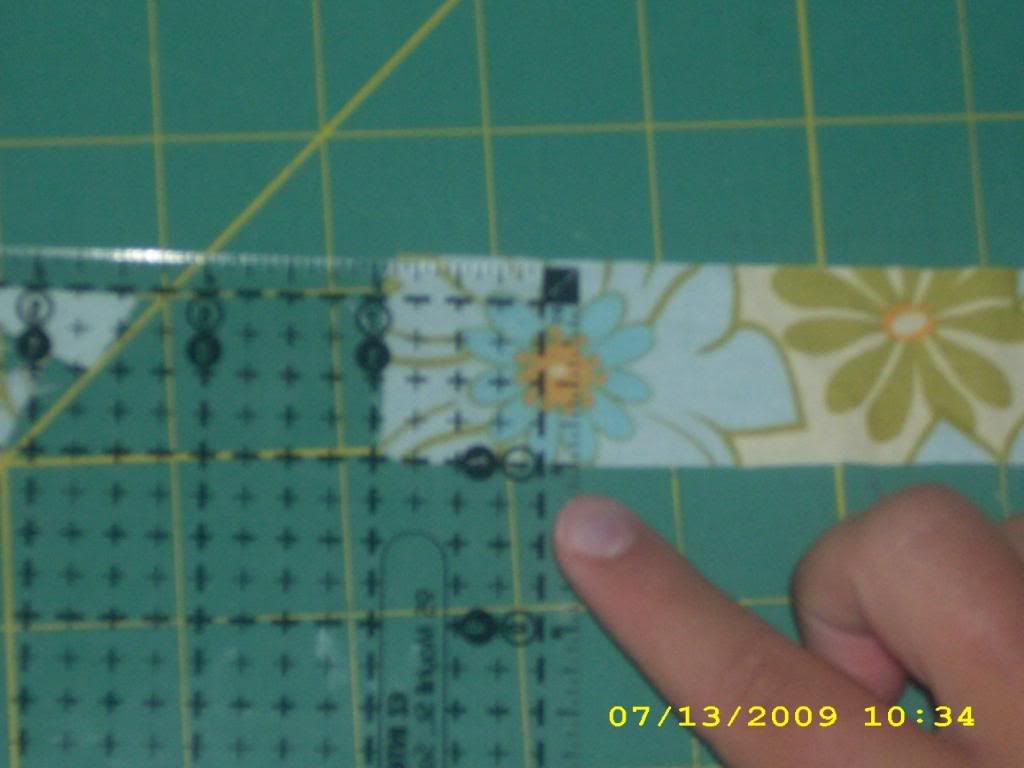
3. Line up your cutting ruler to 1 1/4 inches and cut the strip.


Photobucket

Making this:

Photobucket

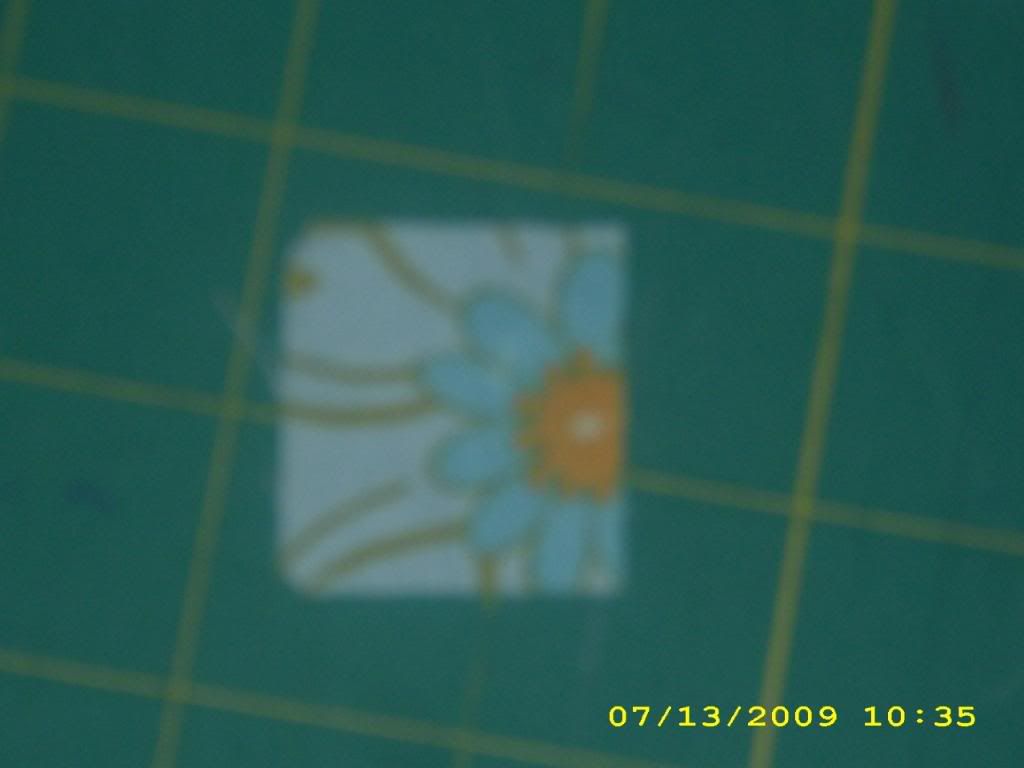
Keep cutting squares until there is a little stub of fabric left. This should make about 8 squares.

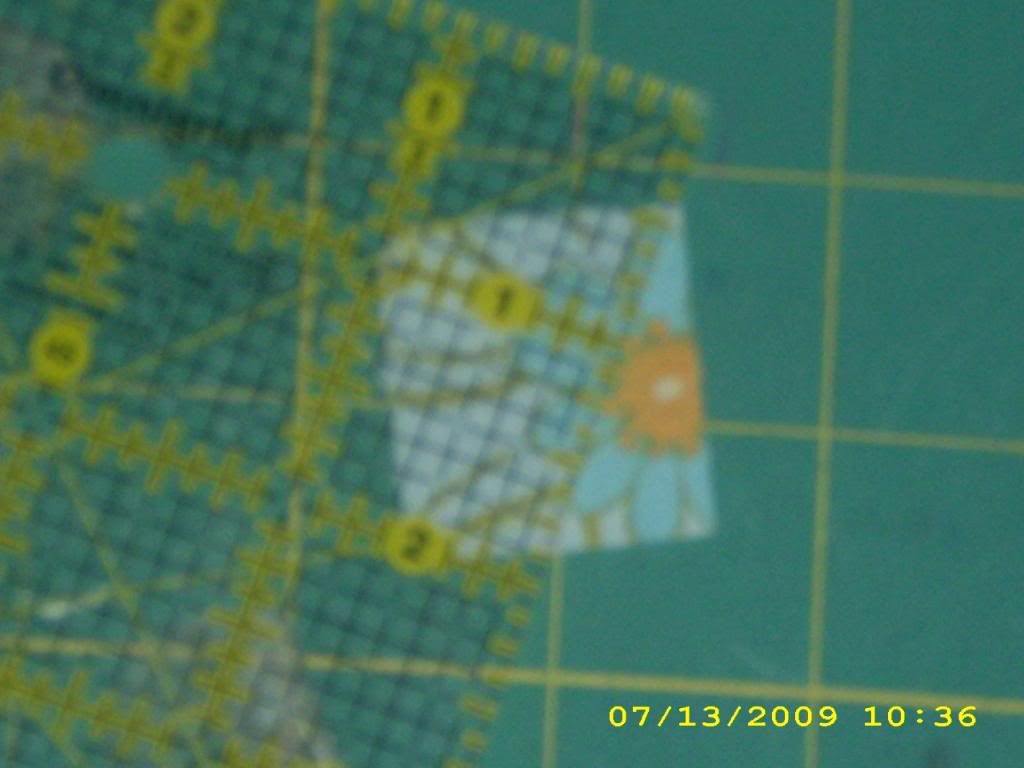
4. This looks tricky but it isn't. Line up your cutting ruler so that the line goes from the corner of one square to the bottom middle of it. Slice it and do the same with the other side.

Photobucket

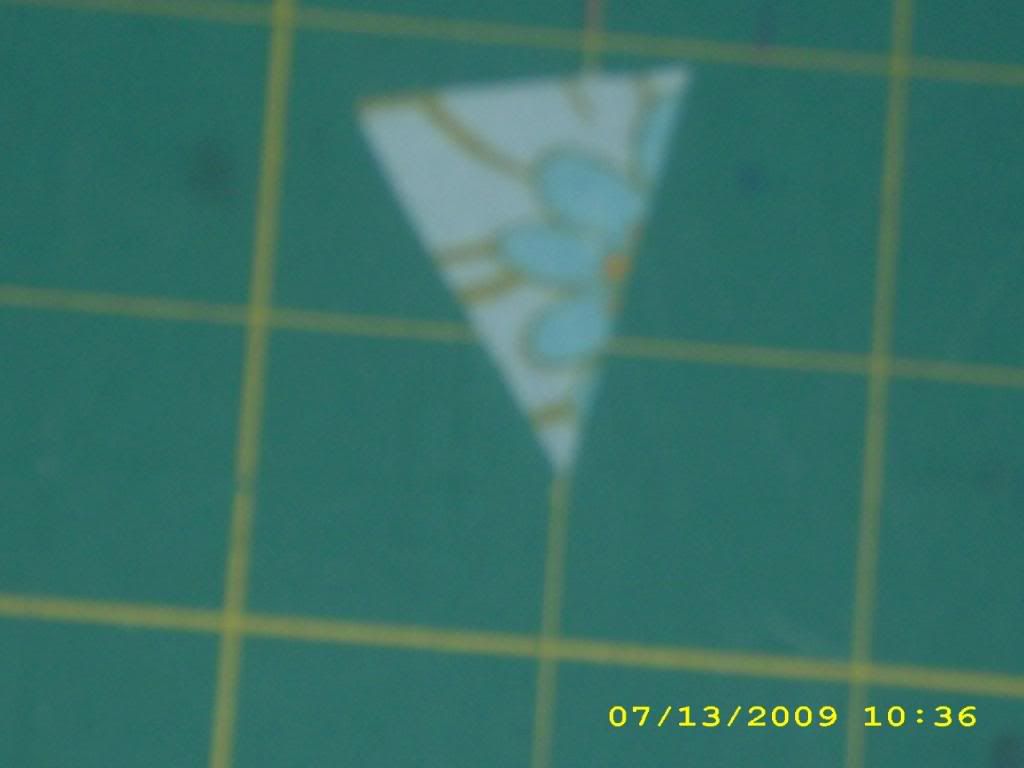
5. It should now look something like this (sorry that it's a little blurry).

Photobucket

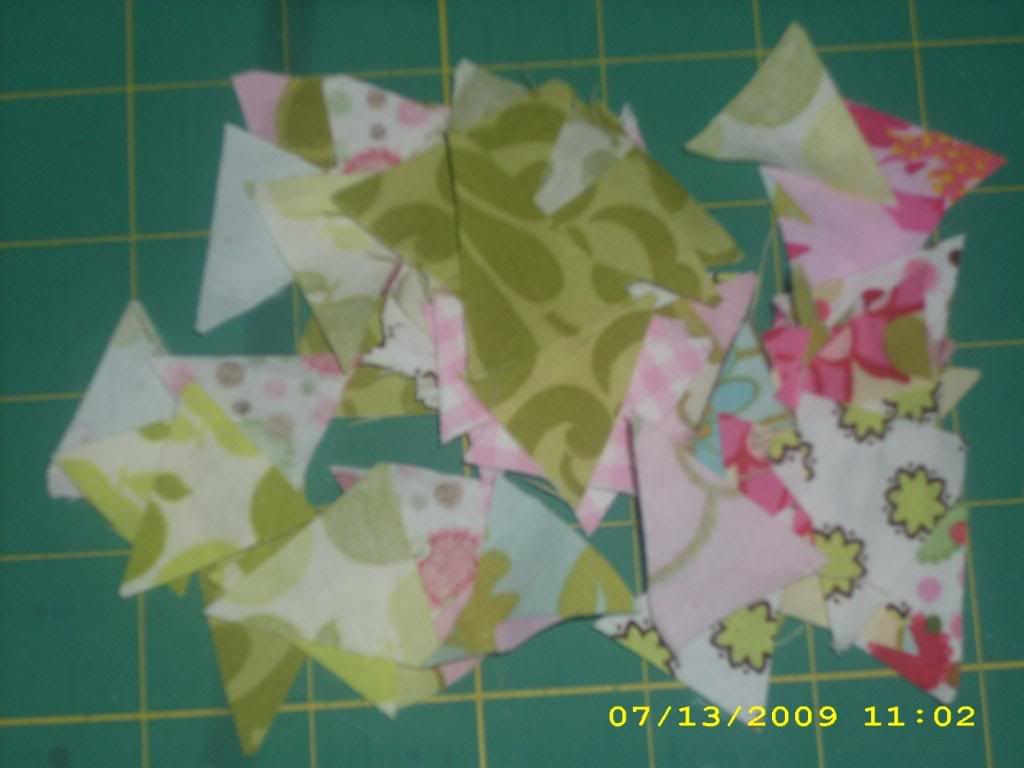
6. Do the same with all of the squares. When you are done with that, go back step 2 and do it with all of the fabric scraps.

Photobucket

7. You have two options on this step (a) Put your ric-rac under your foot and place a flag infront of the foot and sew it onto the ric-rac face down. Repeat with all of the flags.

Photobucket

or (b) Glue each of the flags onto the ric-rac face down.

8. Bring the ends of the ric-rac together and sew or glue them together. Turn it inside-out and tada! You're done!!!!
Photobucket

Monday, July 6, 2009

Giveaway Winner!!!!

Finally we will announce our Purse Week Give-away winner!!!

Congratulations to Summer,

I have really enjoyed your blog!! I can't get enough pillow case creations :)I really hope you keep it going so I can get more Christmas present ideas ;)

Our poor lonesome blog!


Both Rebecca and I have been sick for the past week and have neglected our poor blog! We logged back on only to discover that our computer was infected with a virus, too. Hopefully all is well now , and we will resume our quest for a Creative Christmas later this week when we finish up with all the doctors appointments we have scheduled for our bazillion children! In the meantime, I'll leave you with fresh photos of the newest Richards, a baby GIRL!

Rebecca will post later today with the name of the winner of our purse giveaway!

Next up on our calender is Bath Products Week! We'll be showing you how to make all kinds of goodies that you can whip up nice and early and have ready for gift-giving at Christmas.

Friday, June 26, 2009

Giveaway Friday!


Now is the time to comment on our blog to win your choice of the fabulous bags we have made this week. The only one we are not offering in the giveaway is the pillowcase backpack, because it is made of sentimental fabric. If you link to our blog, let us know in the comment section and we will put your name in twice!


I didn't have the heart to make the bamboo bags without my sewing buddy today, but I made 5 (gulp) Sandi Henderson Peasant Dresses today - one for a customer, one for Lilly, who immediately demanded one exactly like it, two made out of soft knit for nightgowns, and one for July 4th. I just have the shirring left to do tomorrow. I was petrified to try the shirring, but my customer really wanted this one dress, so I tried it....it was easy and fun! I used this great tutorial from Sandi Henderson. I highly recommend her patterns, even for someone new to sewing. Her directions are great, and her patterns are just so stinking cute. The apron knot dress above is an example of her designs.
And by the way, it is exactly...completely....half way til Christmas today. Get cracking!

Thursday, June 25, 2009

More Pillowcase Love.........

What do you get when you slice a pillowcase up into wedgies?


THE SWEETEST SKIRT I'VE EVER SEEN!
Oh my goodness.....run, don't walk and see this awesome tutorial Rebecca (not my Rebecca) wrote over at Renaissance. And peruse her blog...I just found it today, and can tell it will be one of my favorite daily reads.
hmmm....it took one pillowcase to make a skirt for that itty bitty girl...wonder how many it would take to make one to fit me (and my 20 week belly)........

Purse Week - Day 5 Bamboo Handled Bag

Tomorrow I'm going to start on this Bamboo Handled Bag from Little Birdie Secrets
What a great website....spend some time browsing on her site...what a creative girl!

I'll be working on it all by my lonesome self tomorrow as my partner is Christmas Crime is going on the Lake Retreat with all her youth group friends. Sniff.

Don't forget to comment for our giveaway! We will draw names from all the comments this week and you'll get a chance to win your favorite purse. If you link to our blog on yours, and let us know, we'll put your name in twice!

We are nearing the end of the week....next week we will be making homemade bath products, so those of you who do not sew can participate.

Blessings, Lesli

Wednesday, June 24, 2009

Pillowcase Backpack Reveal!

Check out this bit of retro awesomeness, circa 1977. This was made from a pillowcase that was on my bed when I was a kid.

I love the pattern...it was really easy. It took about 30 minutes from start to finish. It's a very strong sturdy bag, because it's folded so that the fabric is doubled. I would love to make some more of these for all my kids, if I could only find some more pillowcases! I have one more blue and white striped pillowcase, and I think I'm going to applique something on it to make a backpack for Samuel...just didn't have time today.
This was a VERY SIMPLE bag...if you are nervous about getting started, this should be the first one you try.
Happy sewing!